
What Makes a Game Mechanic Work
Core mechanics are the foundation of any game. We’ll explore how to design systems that feel natural to play and keep players engaged.
Read ArticleYour game idea is just the beginning. We’ll walk you through turning that concept into a playable prototype — the fastest way to test if your game is actually fun before investing weeks into development.
Most games don’t feel fun on paper. You can have the most brilliant design document, but until you actually play it, you won’t know if the core loop works. That’s what a prototype does — it strips away everything except the essential mechanic and lets you test the heart of your idea.
Here’s the real deal: prototyping saves you months. Instead of building a fully polished game only to discover the gameplay isn’t engaging, you spend a week or two validating your concept with a rough, unfinished version. If it’s not fun at that stage, you iterate. If it clicks, you’ve got confidence moving forward.
A prototype doesn’t need to be pretty. It needs to answer one question: Is this fun? Everything else comes later.
Every game has one central mechanic that defines it. For a platformer, it’s jumping. For a puzzle game, it’s block matching or pattern recognition. For a strategy game, it’s resource management and tactical decisions.
Your first job is brutal honesty: what’s the ONE thing that makes your game different? Not the story. Not the graphics. The mechanic. If you can’t articulate it in one sentence, you’re not ready to prototype yet — go back and refine your concept until you can.
Once you’ve identified it, build nothing else. No menus. No progression systems. No dialogue. Just that mechanic in its purest form, repeatable for maybe 2-3 minutes of actual play.


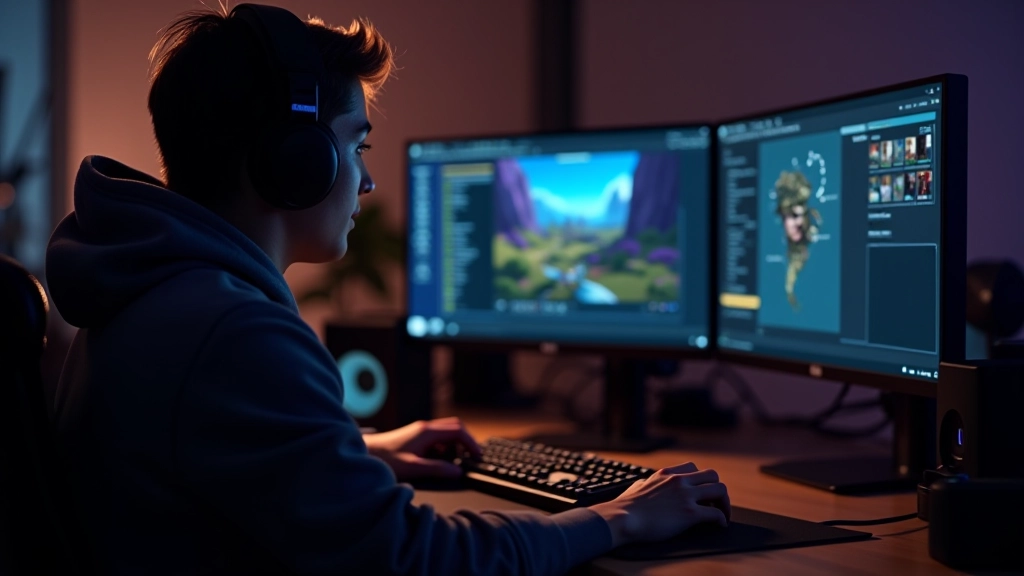
You’ve got options, and honestly, most beginners overthink this part. You don’t need the fanciest engine. You need something that won’t get in your way while you’re testing mechanics.
Free entry point. Tons of tutorials. If you’re building anything 3D or want industry-standard experience, start here. The learning curve is real though — expect to spend a few days just getting comfortable with the interface.
Lighter weight than Unity. Faster to get something playable. Open source. The community’s smaller but growing fast, and you’ll find plenty of prototype examples. Good choice if you want to move quick.
Overkill for most first prototypes, honestly. But if you’re already familiar with it from work, don’t force yourself to learn something new. Your speed matters more than the engine choice.
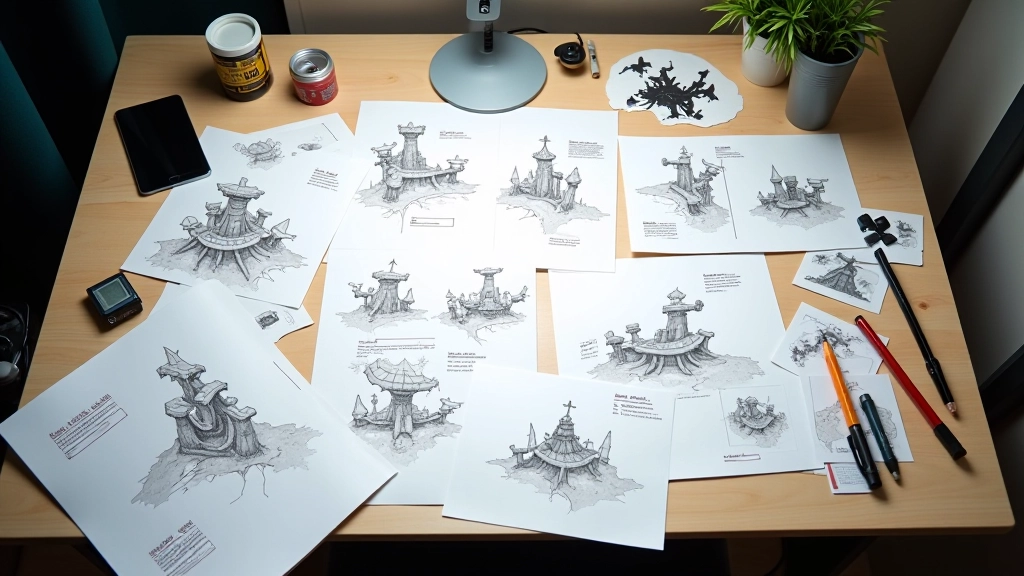
Don’t sleep on this. Cards, dice, pencil, paper — sometimes the fastest way to test a game mechanic is non-digital. You’d be surprised how much you can validate with actual tabletop play before touching code.
This is where most first-time developers fail. They start adding features. Polish. Complexity. Stop. Your prototype should feel rough around the edges. It should look unfinished. That’s not a bug — that’s the whole point.
For your first week, aim for 30 minutes of work that produces 2-3 minutes of playable content. That’s a win. You’re not building a game. You’re testing a hypothesis. The hypothesis is: “When a player does X, does Y feel good?”
Common mistakes we see: Adding a story mode. Building a progression system. Creating multiple difficulty levels. Creating different character abilities. All of that comes later. Right now, you want the core loop repeated until it’s either obviously fun or obviously broken.


Don’t play your own game for hours expecting to judge it objectively. You can’t. You know what you were trying to do. Someone who’s never seen it before will discover what you actually built — flaws and all.
Grab a friend. Show them the prototype. Watch them play it silently. Don’t explain the controls. Don’t help them. Just watch where they get stuck, what confuses them, what makes them smile or groan. That feedback is pure gold.
You’ll notice patterns: Maybe everyone dies at the same spot. Maybe the difficulty spike is too harsh. Maybe they’re bored after the first 30 seconds. These aren’t failures — they’re data. Use it to iterate.

One round of testing isn’t enough. You’ll get feedback, make changes, and test again. That cycle — test, observe, adjust, repeat — is the entire prototype phase. Don’t rush it. Some of the best game ideas only revealed themselves on the fourth or fifth iteration.
When you’re changing things, be systematic. Change one variable at a time. If you adjust difficulty AND add a new power-up simultaneously, you won’t know which change actually improved the experience. Slow down. Test methodically.
You’ll know you’re done prototyping when testers consistently play for the full 2-3 minutes and want to keep going. When the core loop feels tight. When you stop getting confused about what’s fun and what’s not. That’s your green light to start building the actual game.

This article is educational material designed to help you understand game prototyping concepts and best practices. Game development is a practical skill that improves with hands-on experience, experimentation, and learning from your own projects. The techniques described here represent common industry approaches, but your specific results will depend on your effort, iteration, and willingness to test and adapt. Different tools, engines, and teams will have different workflows — what works for one project might need adjustment for another. Consider this a foundation to build upon with your own experience and creativity.
You don’t need the perfect idea. You don’t need months of planning. You need one clear mechanic, a week of focused work, and the courage to show it to someone who’ll tell you the truth about whether it’s fun.
Start now. Pick your engine. Identify your core mechanic. Build something rough. Test it. You’re closer to making a real game than you think.